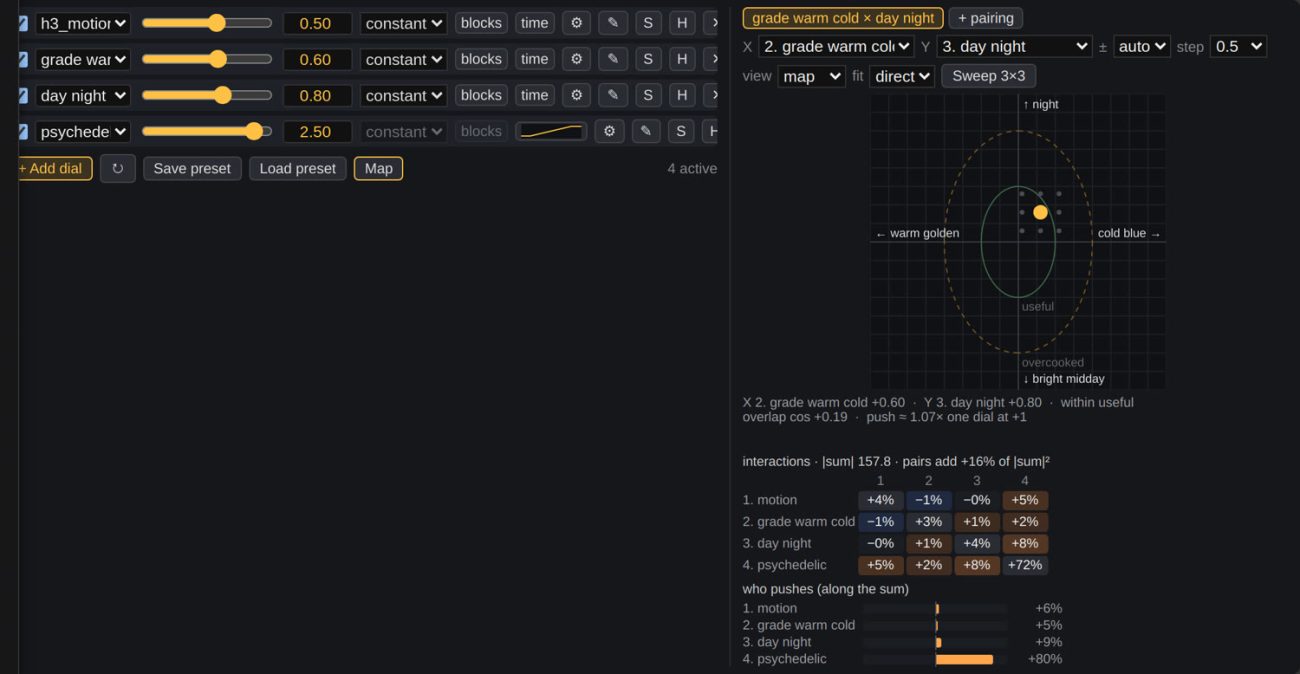
H3-Dials motion control lets you change how actively a MiniMax H3 scene moves without rewriting the scene for every attempt. The practical task here is a fixed-seed comparison: take an existing Pika H3 Flex ComfyUI setup, render a baseline, then increase motion with one small steering file while keeping the prompt, sampler and model adapter unchanged.
This guide uses the original ComfyUI-Dials pack and its explicit Load Dial and Apply Dial nodes. It deliberately leaves time curves and de-rope out of the first comparison. The newer MAINodes route combines those controls, but they would make a motion-only test harder to interpret. The original pack also supplies a separate de-rope workflow; it is not used here.
Check eligibility before downloading model files. The MiniMax H3 Community License supplied with the dials defines its territory as excluding the European Union, United Kingdom, Republic of Korea and United States. The dial publisher identifies these weights as H3 model derivatives. If that excludes your use, stop before the download and rendering steps; this tutorial does not provide permission or a workaround. The node-code license is separate.
What the motion dial changes
According to MATLOWAI’s H3-Dials model card, a dial is a direction computed from contrasting prompt pairs rather than a trained adapter. The hook motion file adds that direction after H3’s text refiner. Positive strength pushes toward more energetic motion; negative strength pushes toward stillness. It changes the model’s conditioning rather than retiming a finished video.
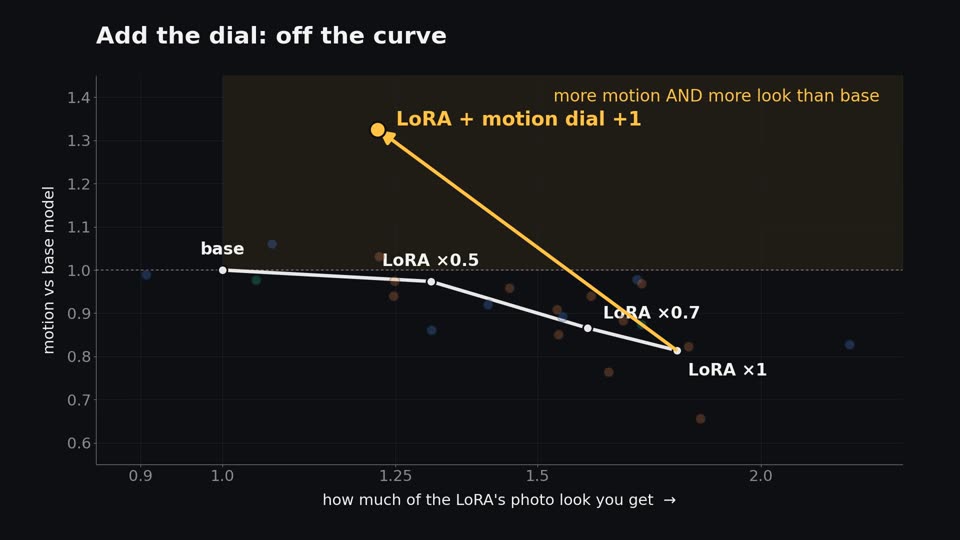
That distinction matters when an attractive image-style LoRA leaves a video too static. Raising a motion dial is a separate intervention from reducing the style LoRA. It may help preserve the desired appearance while recovering movement, but it can also change staging or character appearance. Treat it as a creative adjustment, not a motion-restoration guarantee.
The current model card was modified on November 8, 2026. Repository work on the associated documentation also falls on November 8 in WIB, although the GitHub timestamps are November 7 UTC. That is evidence of ongoing upstream activity. A discussion check returned no threads on the dial model repository, and same-day search did not establish broader community popularity. This is an activity-led tutorial, not a claim that the tool is viral.
Prerequisites and the version boundary
Start with a working local H3 workflow that already produces video and audio. This is an adaptation guide, not an installation guide for the large base model. Back up the working workflow and record its ComfyUI revision, Python environment and selected quantizations before adding custom nodes. If the unmodified setup fails, fix that first.
The instructions below are checked against ComfyUI-Dials commit 94c84e4ce53db22629b84b17a709956adeda9e55. Its code uses ComfyUI’s comfy_api.latest node API. The inspected upstream ComfyUI version file reports 0.44.0; this is a reference snapshot, not a verified minimum version or a claim of runtime compatibility. Keep your known-working H3 environment unless you have a separate reason and recovery plan to update it.
Use the Pika FL2VA adapter for the text-to-video route here. Pika’s model documentation distinguishes FL2VA, which supports text and endpoint frames, from Ref2VA, which handles multimodal references. Do not select a Ref2VA file simply because its name also contains H3 Flex.
Step 1: Identify the files and their locations
The source workflow selects the following exact files. Each download link points to the upstream file rather than a third-party bundle. These are large models except for the dial, so reuse matching files already present instead of downloading the whole repository. Folder paths are relative to your ComfyUI installation.
- minimax_h3_fl2va_pruned_int8_convrot.safetensors belongs in
models/diffusion_models/. - qwen3vl_32b_minimax_h3_nvfp4_awq.safetensors belongs in
models/text_encoders/. - minimax_h3_video_vae_fp16.safetensors and minimax_h3_audio_vae_fp32.safetensors belong in
models/vae/. - pika_h3_flex_fl2va_v1_bf16.safetensors belongs in
models/loras/. - h3_motion.safetensors belongs in
models/loras/dials/. Create thedialssubfolder if necessary.
The Comfy-Org repack card prefers the int8_convrot diffusion weights when the environment can use PyTorch with cu130. Do not replace a working quantization blindly. If you retain a different supported H3 quantization, select its actual filename in the model loader and record the substitution. No universal VRAM requirement is asserted here.
Choose the hook file named h3_motion.safetensors, not h3_motion_lora.safetensors. The latter uses a different injection point and has a different effect per unit of strength. A shared safetensors extension does not make the two files interchangeable in a controlled comparison.
Step 2: Add the small original node pack
The project’s quick start installs the original pack inside ComfyUI/custom_nodes and states that it needs no extra dependencies. For a Git-based installation, open a terminal in that directory and use the following commands. The checkout pins the documentation and code snapshot used here; do not run it inside an unrelated existing repository.
git clone https://github.com/matlowai/ComfyUI-Dials
cd ComfyUI-Dials
git checkout 94c84e4ce53db22629b84b17a709956adeda9e55
Restart ComfyUI after adding the pack. Search the node menu’s Dials category for Load Dial and Apply Dial. Their internal identifiers are DialsLoadDial and DialsApplyDial. If they are absent, inspect the startup import error before adding other packs or installing arbitrary dependency lists.
You do not need MAINodes for the plain workflow used here. Its Dial Rack is a different interface to the same file library. Installing both projects is not a substitute for knowing which node family a workflow expects.
Step 3: Put the dial on the sampler’s model path
Download the pinned dials_pika_h3_flex.json UI workflow as a reference. Open it as a separate workflow, preserving your working graph. It supplies the sampler schedule and audio path without the de-rope pass. Select your installed model filenames rather than assuming saved dropdown values resolve automatically.
The reference includes a second, inactive dread-dial slot. For a motion-only setup, remove its Load Dial and Apply Dial pair and connect the motion Apply Dial output directly to BasicGuider’s model input. Otherwise download the required dread file even at strength zero, since its separate loader still needs to resolve. Removing the unused branch avoids that unnecessary dependency.
In your existing Pika graph, connect the model in this order: diffusion model loader, Pika Load LoRA (model only), motion Apply Dial, then the guider feeding the sampler. Connect Load Dial’s dial output to Apply Dial’s dial input. Select dials/h3_motion.safetensors in Load Dial and start Apply Dial at 0.
Keep the text encoder and VAE connections unchanged. The motion patch belongs on the model path; placing an isolated Apply Dial node beside the sampler does nothing. Verify that the sampler’s guider actually receives the patched model. For base MiniMax H3 without Pika, insert the same pair on the existing model path but preserve that base workflow’s own sampling schedule.
Step 4: Lock the settings and write one test prompt
The checked Pika workflow uses MiniMaxH3ImageToVideo without an input image for text-to-video, BasicGuider, RandomNoise, KSamplerSelect, ManualSigmas and SamplerCustomAdvanced. Keep the Pika LoRA strength at 1.0, sampler at lcm, and the following six-step schedule unchanged:
1.0, 0.972973, 0.923077, 0.8, 0.571429, 0.333333, 0.0The example graph uses width 1280, height 704, length 141, seed 42 in fixed mode, and 24 fps in CreateVideo. These are source-workflow settings, not a hardware-fit promise. If your working setup requires another size, keep that size constant throughout the comparison and note that it differs from the upstream example.
Use a simple action that leaves room for a motion change. The following is an original test prompt, not a prompt reported as successfully rendered. Its labeled scene, soundscape and music fields follow the structure explained in Pika’s prompt guide.
integrated_multimodal_description: [Shot 1] Natural daylight. An adult courier in a red jacket walks across an empty stone courtyard carrying a small brown parcel. The camera tracks sideways at chest height, keeping the courier fully visible. A light breeze moves the jacket hem and nearby leaves. One continuous shot.

overall_soundscape: Footsteps on stone, soft wind and distant birds.

non_diegetic_music: N/A
Avoid adding a list of new action words between tests. If both the prompt and dial change, you cannot attribute a different result to the dial. Also leave other style, mood and motion adapters disabled for the first comparison unless they are the specific existing LoRA whose motion loss you are investigating.
Step 5: Render a baseline and a conservative sweep
- Render with motion strength
0. Save the workflow and video as the baseline, with the seed and selected model filenames recorded. - Change only motion strength to
+0.5and render again. Keep the seed fixed rather than allowing the noise node to increment or randomize. - If the scene remains usable but still needs movement, render
+1.0. Compare it with both earlier clips before increasing anything further. - For a deliberately calmer variant, test a modest negative value such as
-0.5. This is a suggested comparison point, not a published Pika performance result.
MATLOWAI recommends roughly +0.5 to +1.0 for Pika. Its published sweep reports scene restaging and character morphing at higher strengths, so the wider base-H3 demonstrations are not a reason to begin Pika at +2. More motion is useful only while the shot still meets its brief.
Watch the whole clip at normal speed and inspect several matching moments. Check whether the courier stays identifiable, the parcel remains present, the camera follows the requested path and movement is continuous rather than a sudden jump. Listen to the audio too. A steering operation should not be judged solely by a single attractive frame.
When MAINodes and de-rope become useful
After choosing a useful constant motion strength, consider the newer MAINodes Dials guide if you need multiple dials, strength changing across clip time, or de-rope. Its Simple workflow uses a Dial Rack and an H3 blueprint rather than the original Load Dial and Apply Dial chain.
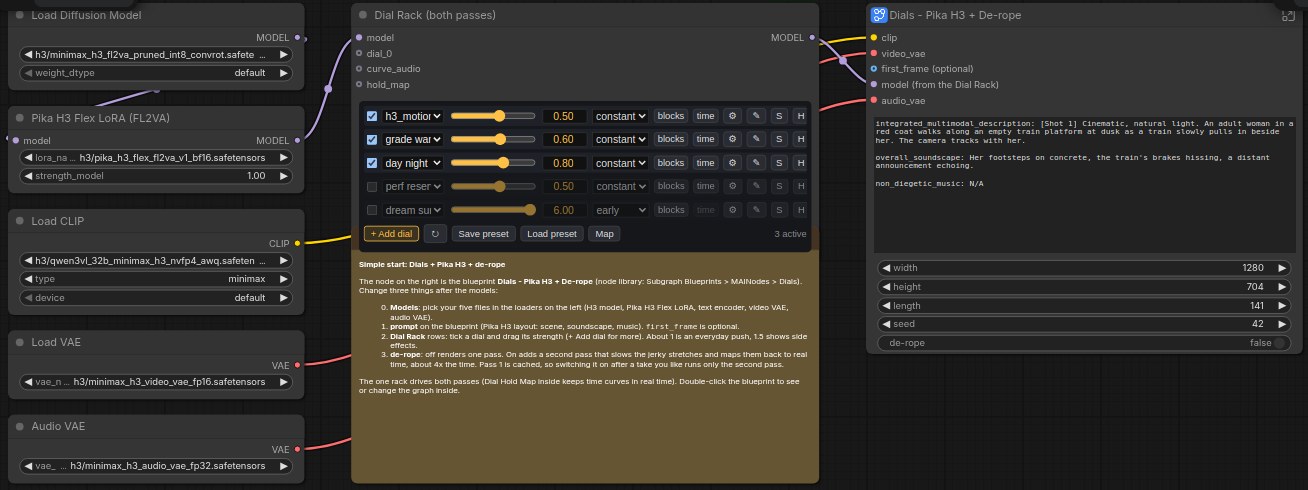
The publisher describes de-rope as identifying motion that is too fast for the frame rate, rerendering slowed stretches and mapping them back while retaining the original audio. That is an additional render intervention, not another name for the motion dial. Compare plain and de-roped versions separately, and do not attribute their differences to a strength adjustment alone.
Troubleshooting the comparison
If the dial dropdown is empty, check that the file is under models/loras/dials/, not models/dials/. The inspected loader filters the registered LoRA folders for that subdirectory. If loading reports an invalid dial, verify that the download is the actual safetensors file rather than an HTML page and that you selected the hook file.
If motion strength appears ineffective, trace the model cable into BasicGuider and confirm that both renders used the same prompt and fixed seed. At zero, the inspected Apply Dial code returns the incoming model unchanged. At nonzero strength it clones and patches the model. A sampler still connected to the unpatched branch will never see that change.
If the subject changes or leaves the shot, reduce strength before altering the sampler. If frame transitions look harsh, return to the baseline and distinguish increased motion from unstable motion. If memory fails, recover the previously working size or quantization rather than treating a tiny steering file as evidence that the complete pipeline is lightweight.
The verification for this article was static: the source UI graph’s connections and types were checked, its API twin was parsed, node Python syntax was parsed, and the motion file header was inspected. No ComfyUI import, model inference, timing test or successful courier render was performed. Keep the smallest strength that meets your own shot requirements, and save that workflow beside the zero-strength baseline.
Sources
- MATLOWAI H3-Dials model card and file library
- ComfyUI-Dials pinned code, workflows and documentation
- Comfy-Org MiniMax H3 repack and placement instructions
- Pika H3 Flex model card and prompt guidance
- MAINodes Dials guide for the alternative interface
Tags: H3-Dials, ComfyUI, Pika H3 Flex, MiniMax H3, Video generation, Motion control
Supporting keywords: Pika H3 Flex ComfyUI, MiniMax H3 motion dial, ComfyUI-Dials tutorial
Search intent: Practical tutorial for a fixed-seed motion-control comparison in an existing H3 workflow